
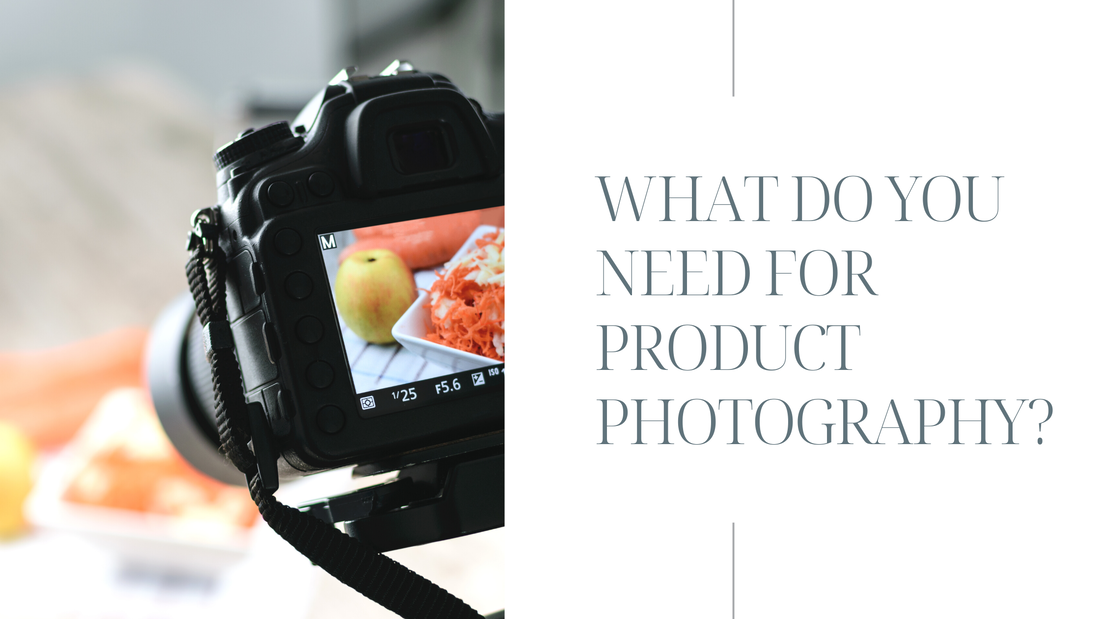
 Anyway, precisely what do you need for product photography?
For those beginning with a basic photograph shoot, picking the right photography stuff can appear to be scary from the get-go. Fortunately, for the best outcomes, you don't need to spend a little fortune on proficient hardware. With the right skill and a couple of affordable photography apparatuses, you can make a progression of engaging pictures deserving of your web-based store. Assuming that you're asking yourself: what do you need for product photography? Don't perspire it - we've assembled a rundown of all that you'll need alongside a bit-by-bit guide for doing a product photoshoot - look at it beneath. Why Is Product Photography Important? Support Product Appeal With an imaginative eye and the right gear, proficient product photography can permit you to catch your products in a considerably more complimenting way. Regardless of whether it's by unobtrusively exchanging the point, utilizing fresh sceneries, or appropriately retouching the photographs later in the photoshoot - these apparently straightforward photography tips can work on the visual stylist of your products. Stand Apart From Competitors An out-of-center or ineffectively outlined product photograph can stand out in contrast to everything else - affecting an eCommerce store's validity and notoriety. Rather endeavor to utilize spotless, fresh-looking product pictures. Not exclusively will it assist with supporting product allure and drive deals, however, you'll likewise be remaining over any of your rivals that aren't meeting this benchmark. Meet Expectations Clients can misunderstand the impression of how a product really looks when the pictures have unreasonable channels or retouch. This can be frustrating when the products show up and these assumptions aren't met - prompting expanded returns and awful informal. With exact product photographs, clients have a vastly improved thought of what they're buying and how it will look when it shows up. With these assumptions set up, clients are bound to be happy with their buy. What Do You Need For Product Photography? 1. DSLR Camera We should begin with the self-evident - for a product photoshoot, you will need a decent DSLR camera. The measure of DSLR cameras available is fretouching, and picking one for a basic photograph shoot might appear to be an overwhelming interaction - however, it doesn't need to be. We should work on things. Especially assuming your subject is still for the entire shoot, you're not going to need a camera with broad ISO ranges or incredibly high megapixels. The equivalent goes for the centering framework, it doesn't need to be anything extreme. For a fundamental shoot, a camera with around 20 - 24 megapixels is okay, alongside a 50mm or a unit focal point - the Canon EOS 800D is an incredible choice. That being said, assuming you're chipping away at a careful financial plan, you shouldn't underrate the force of a cell phone's camera. The innovation has made considerable progress over late years and you'd be shocked by the quality it can convey. 2. Stand One more staple of your photoshoot will be a solid mount. They work to lessen camera-shake and work on the clearness of the pictures - particularly when you're shooting in low-light circumstances. With regards to buying amount, you don't need to burn through every last cent with anything extravagant. However long it's steady enough to hold your camera, it's a champ. However, for greater adaptability during the shoot, it generally assists with having a stand with a movable section down the center on the off chance that you might want to roll out slight improvements to the stature or shoot the product from a higher place. 3. Background There are a couple of interesting points while picking a background for your product - including the kind of product photograph you're shooting, the product you're working with, and the specific states of mind you're attempting to depict. Backgrounds will frequently change between the various sorts of product photographs. For instance, eCommerce pictures will customarily have a perfect white background. However assuming that you might want to offer the chance greater character and offer specific tones in your pictures, you could utilize a shaded background with either more splendid or moodier shading plans. Something else to consider is the sort of product you're working with. Assuming that you're styling food or beverages, things can get extremely untidy, rapidly. For these scenes, it's ideal to utilize a vinyl surface that is not difficult to clean and reuse - however they can be more costly. In any case, for standard products, paper sceneries are flexible, helpful, and savvy. You can also try background removal for your product photography to look more professional. 4. Lighting Legitimate lighting is quite possibly the most critical element of a photoshoot, yet it's likewise perhaps the hardest component to get right. For entrepreneurs chipping away at a limited spending plan, utilizing regular light is an extraordinary decision - it's free and can deliver natural-looking pictures. You should simply set up your product shoot close to a huge window or door and you're all set. Also assuming you need to relax any shadows, you can utilize a reflector to skip the light however you would prefer. Nonetheless, regular lighting can be a double-edged blade. On overcast days, the light can always show signs of change and conflict. Assuming it accommodates your spending plan, consider putting resources into a bunch of studio lights. With them, you'll have full control of the lighting over the scene. Besides, they are more adaptable to utilize - for instance, you won't need to design your photo shoot around the hour of day and area. That being said, counterfeit lighting can be costly and requires more photography stuff to utilize appropriately. Assuming that you're simply beginning with product photography, start utilizing regular light for your scenes and see what sort of results you accomplish before moving up to studio lights. 5. Light-box Particularly for those exemplary white-background internet business photographs, utilizing a light-box can assist you with taking better, proficient-looking pictures. On the off chance that you're pondering, a light-box is a little block-formed tent produced using a cloudy material. It's intended to diffuse the approaching light to equally enlighten the product and relax any shadows. To set up your light-box, start by unfurling the tent and setting it on a review table. Then, at that point, position the studio lights on the left and right sides of the case. Put the breadth within the light-box, and rest the product in the middle. Since light-boxes are entirely affordable and can help the nature of your pictures, utilizing them for eCommerce photographs is a smart thought. The most effective method to Do A Product Shoot Since you have all that you need, it's the ideal opportunity for the pleasant part - setting up your scene and finishing the product photoshoot. These 5 basic advances will ease you through the interaction. 1. Pick Your Location Choosing an area is the first and most significant stage of your product shoot. On the off chance that you're utilizing normal light, pick an area close to enormous windows and doors. Turn off any house lights to keep away from the normal and fake light blending. In any case, assuming you're shooting with studio lights, you'll have considerably more adaptability when you're picking an area - particularly since you'll have full command over the scene's brilliance. 2. Get The Lightbox Since you realize where you're shooting, you can set up the light-box. Unfurl the tent and spot it on a tough table. Position two studio lights on the right and left half of the container. Then, at that point, utilize the paper setting to make a slow breadth down the rear of the container to the base - this is the place where your product will sit. 3. Position The Product Later the light-put away is set, give the product a fast perfect and spot it in the setting. Frequently, you'll observe the basic front-on product shot isn't the most engaging. Set aside some effort to style the product and track down its most-complimenting point Play around with this progression and get inventive with your points. 4. Click The Photo When the product is ready and you're happy with the style, it's an ideal opportunity to begin shooting. Set your DSLR upon the amount and change your camera settings to suit the scene. Assuming you're content with the synthesis, lock in these settings to keep all your product photographs looking predictable. 5. Retouch The Shots We're not done with the shoot presently. To divert a photograph from great to incredible, you ought to have the pictures cleaned up in photograph-retouching platforms like Lightroom and Photoshop. In the event that you're new to the platforms or don't have the opportunity to learn, it very well may be ideal to enlist an expert for the best outcomes. This help isn't excessively costly and can make your photographs look much better. Additionally, the editors can change the product settings to advance your photographs for transfer. Doing a product photoshoot doesn't need to be troublesome or costly - all you need are the right instruments to take care of business. With a basic DSLR camera, stand, and light-box, you'd be shocked with the quality you can accomplish. However, in the event that you'd like to set aside time and cash, it very well may be best to recruit an expert. Product picture takers aren't excessively costly and exploiting these administrations can guarantee you're getting the best outcomes for your online-based store.
0 Comments
Leave a Reply. |
How to create Ghost Mannequin effect in photoshop cc
How To Create a Clipping Path and Remove Background
|
 RSS Feed
